For a Design for Manufacturing class in fall 2024, a partner and I were challenged to created a CNC milled aluminum "treasure box"; a treasure box being some form of container to hold a specific item or "treasure". We were given 2 3 x 3in blocks of aluminum, one to be the top of the box and one for the bottom. Each member of my group would independently design their side of the box such that it fit with the other half. My group decided this box would snugly hold a D20 dice, have a decagonal outer profile, and have a tight fit between the top and bottom so they would remain sealed, even upside down. We also aimed to make efficient CAM for the CNC mill to keep machine time at a minimum without impacting part finish.
Our final result perfectly met these objectives. We were able to keep the machine run-time under 40 minutes for each part. The treasure box perfectly fit the dice and we were able to use various techniques to ensure a close fit between the top and bottom just as we desired. The outer profile of the two halves lined up perfectly, and the milled finish left a beautifully shiny box.
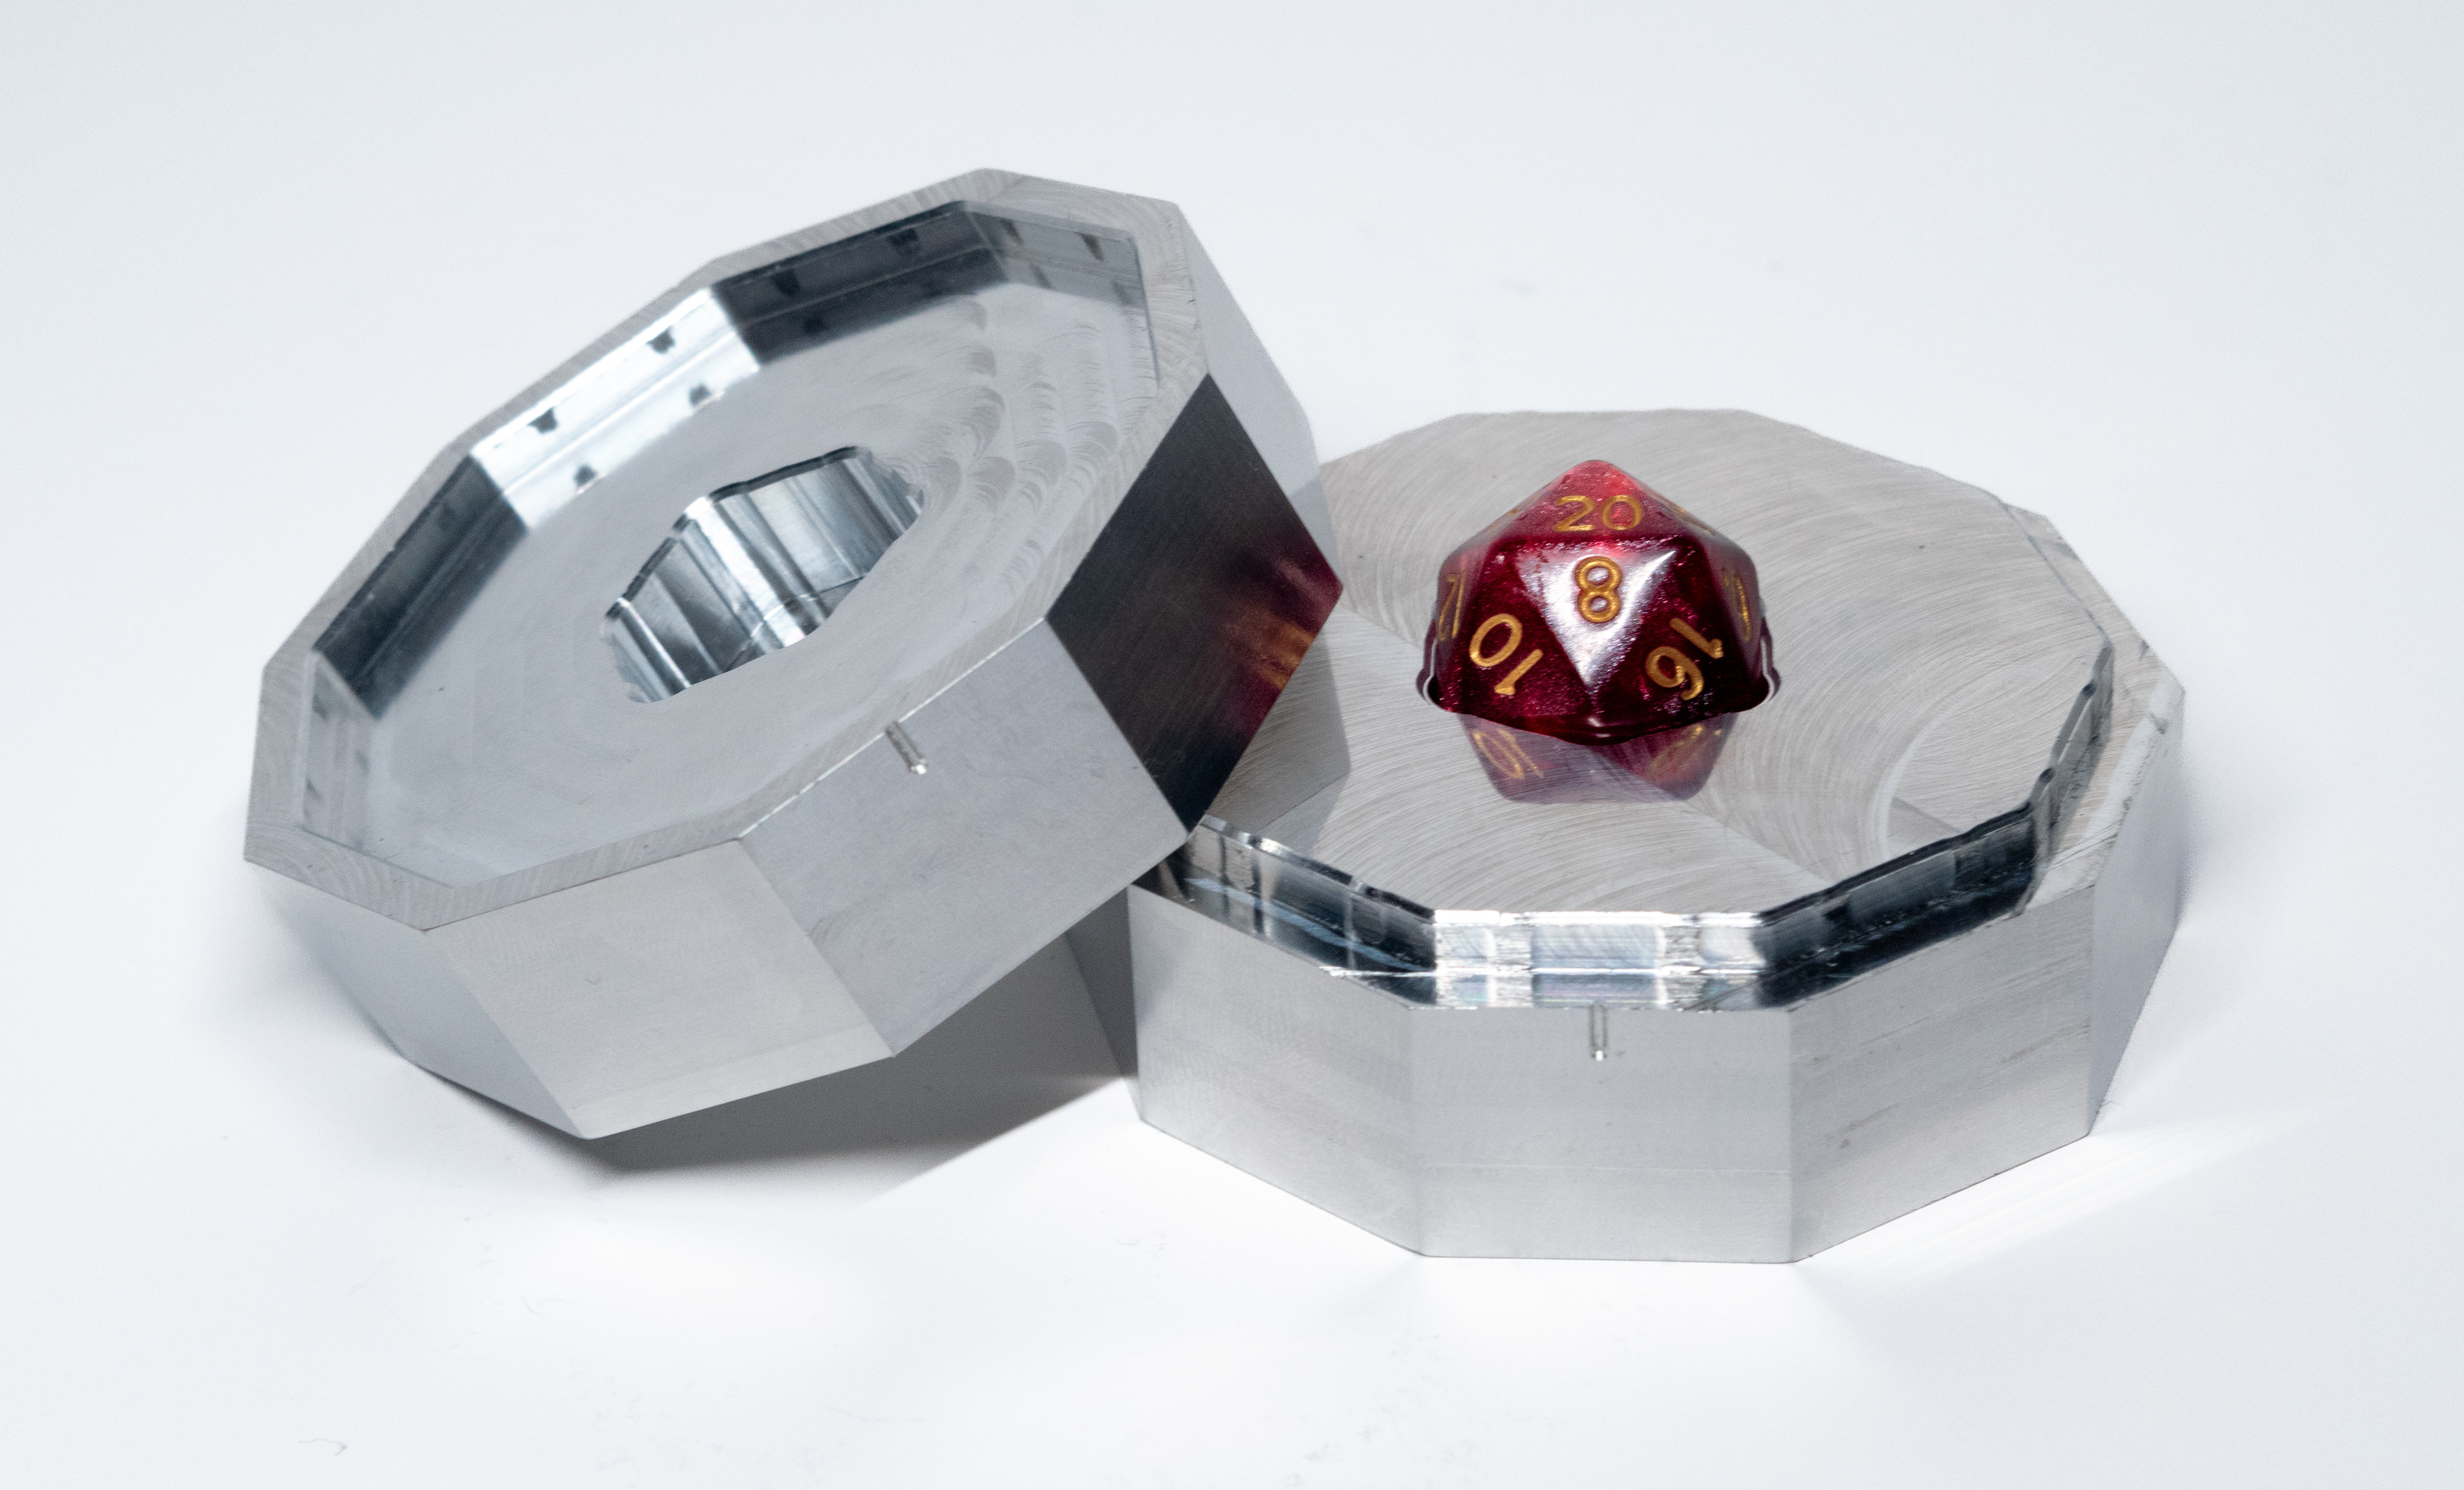
I personally designed and machined the bottom half of the box (pictured to the right).
Some skills I learned or utilized in this process:
- Solidworks CAD
- Fusion CAM
- Tormach 770M Operation
- Technical Drawings
- Designing for manufacturability
- Designing for available tooling (cutter length and diameters)
- Creating CAM to optimize machine time
- Designing for machining tolerances and variability
- Designing fits between parts
Manufacturing Challenges:
When designing for manufacturability, I ensured that all inner corners matched the radius of the cutter which would be cutting them. In this case I was using a .25in endmill for my finishing passes so all inner radii are .13 (the extra .05in above the nominal radius prevents chatter in corners). I also ensured that the specific tooling I had available was long enough to cut the required cutting depths. Because of this, I had to use a longer .375in endmill on the outer profile of the box as it was the only one long enough.
I also elected to sue the largest cutter possible for each operation on the part. After roughing passes with larger tools, I used smaller tooling to cut 2 finishing passes each at .01in depth of cut. With this I was able to achieve a spectacular surface finish with a still manageable total machine runtime of 40min. Below you can view a simulation of the machine running through the entire CAM for the part.
I also elected to sue the largest cutter possible for each operation on the part. After roughing passes with larger tools, I used smaller tooling to cut 2 finishing passes each at .01in depth of cut. With this I was able to achieve a spectacular surface finish with a still manageable total machine runtime of 40min. Below you can view a simulation of the machine running through the entire CAM for the part.
I utilized pedestal milling for this part as well. As seem in the video below, the final part off of the CNC mill has a rectangle of the original stock below it. After finishing the first pass on the mill, I flipped it over and faced off the pedestal on the manual mill leaving only the desired piece.
Design Challenges:
In order to accommodate the pitfalls of using a less rigid milling machine like the Tormach 770M, we had to plan ahead for variation in the tolerances on the parts of the treasure box. For the dice pocket, this involved oversizing the pocket enough that even a significant variance from the true dimension would still allow our measured dice to fit. For the locating lip between the top and bottom of the box, we wanted a perfect fit between the top and bottom. To achieve this, we undersized both sides of the lip by .005in and added small, oversized by .005in nubs along the perimeter of the top of the box to pickup the slop in difference. These nubs could be filed down manually after milling to hone the fit to the desired level of tightness. This strategy worked perfectly in the end and the two halves of our box fits together snugly.
When designing the dice pocket, we had a lot of ideas. We originally wanted to create 3D pockets for all 7 types of dice, perfectly fitting the contours of each unique dice. We decided this design would add too much complexity, both in CAD and machining, so we elected to create a 2D pocket following the contours of a single D20 dice.
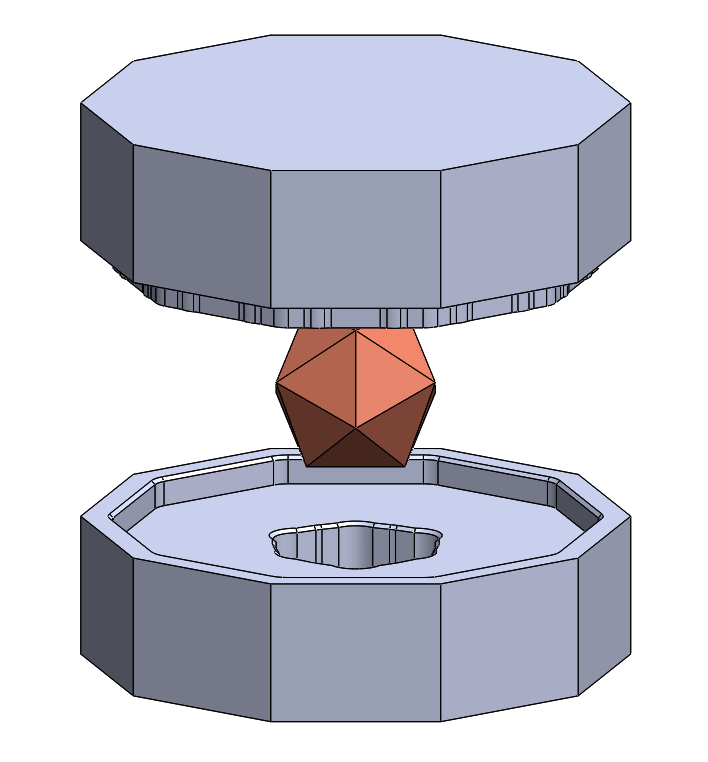
Exploded view of box
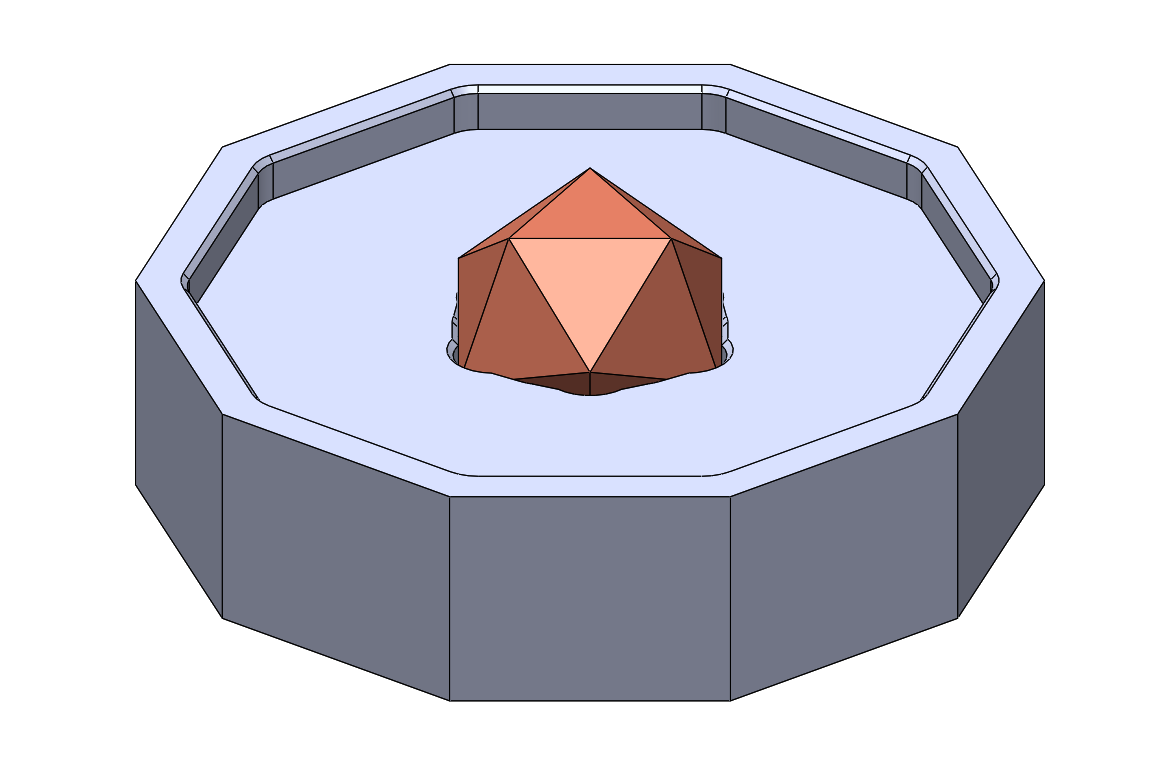
Box bottom with dice
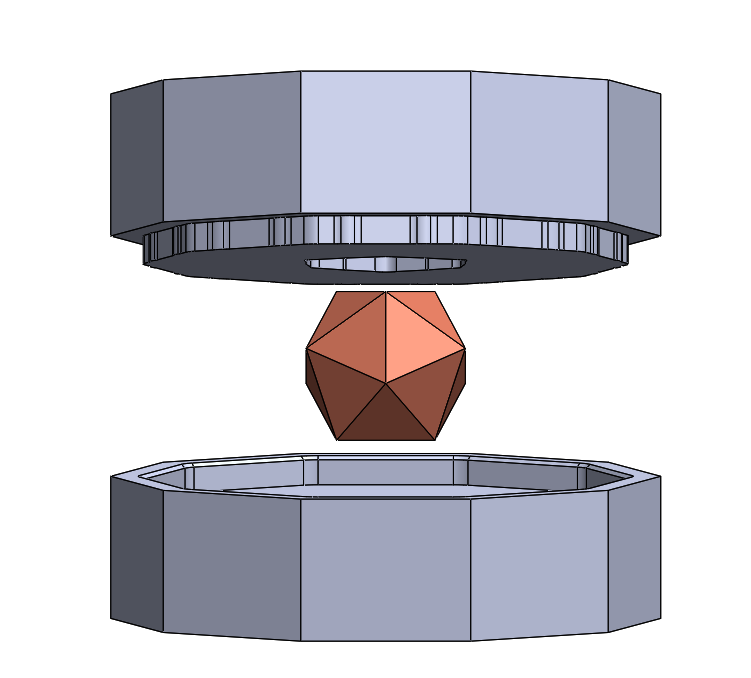
Exploded view of Box
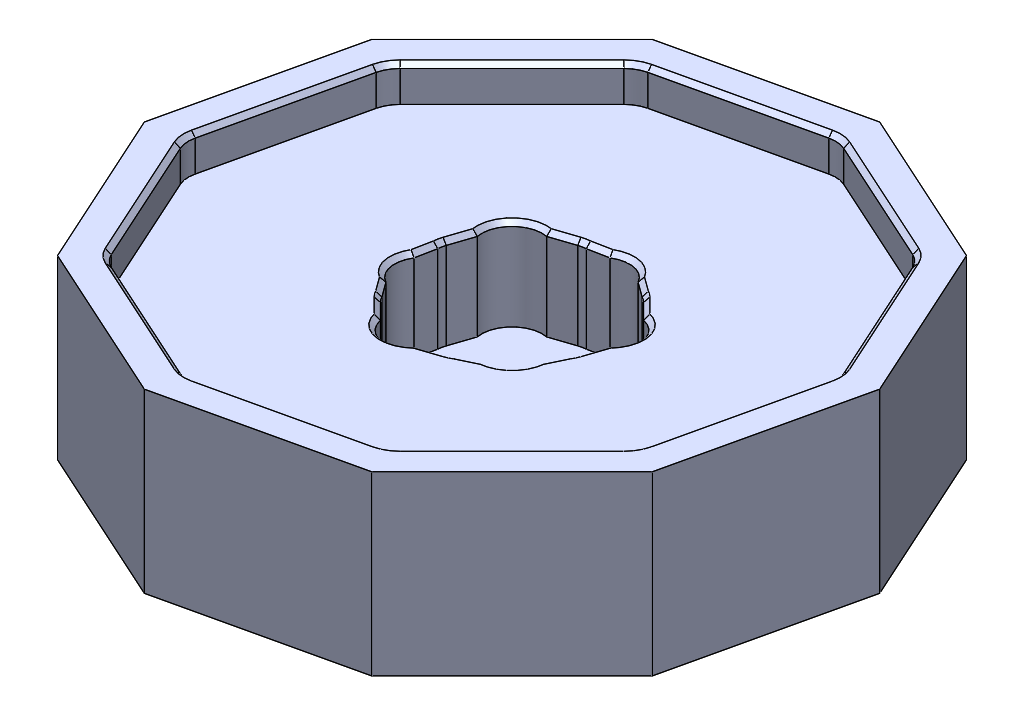
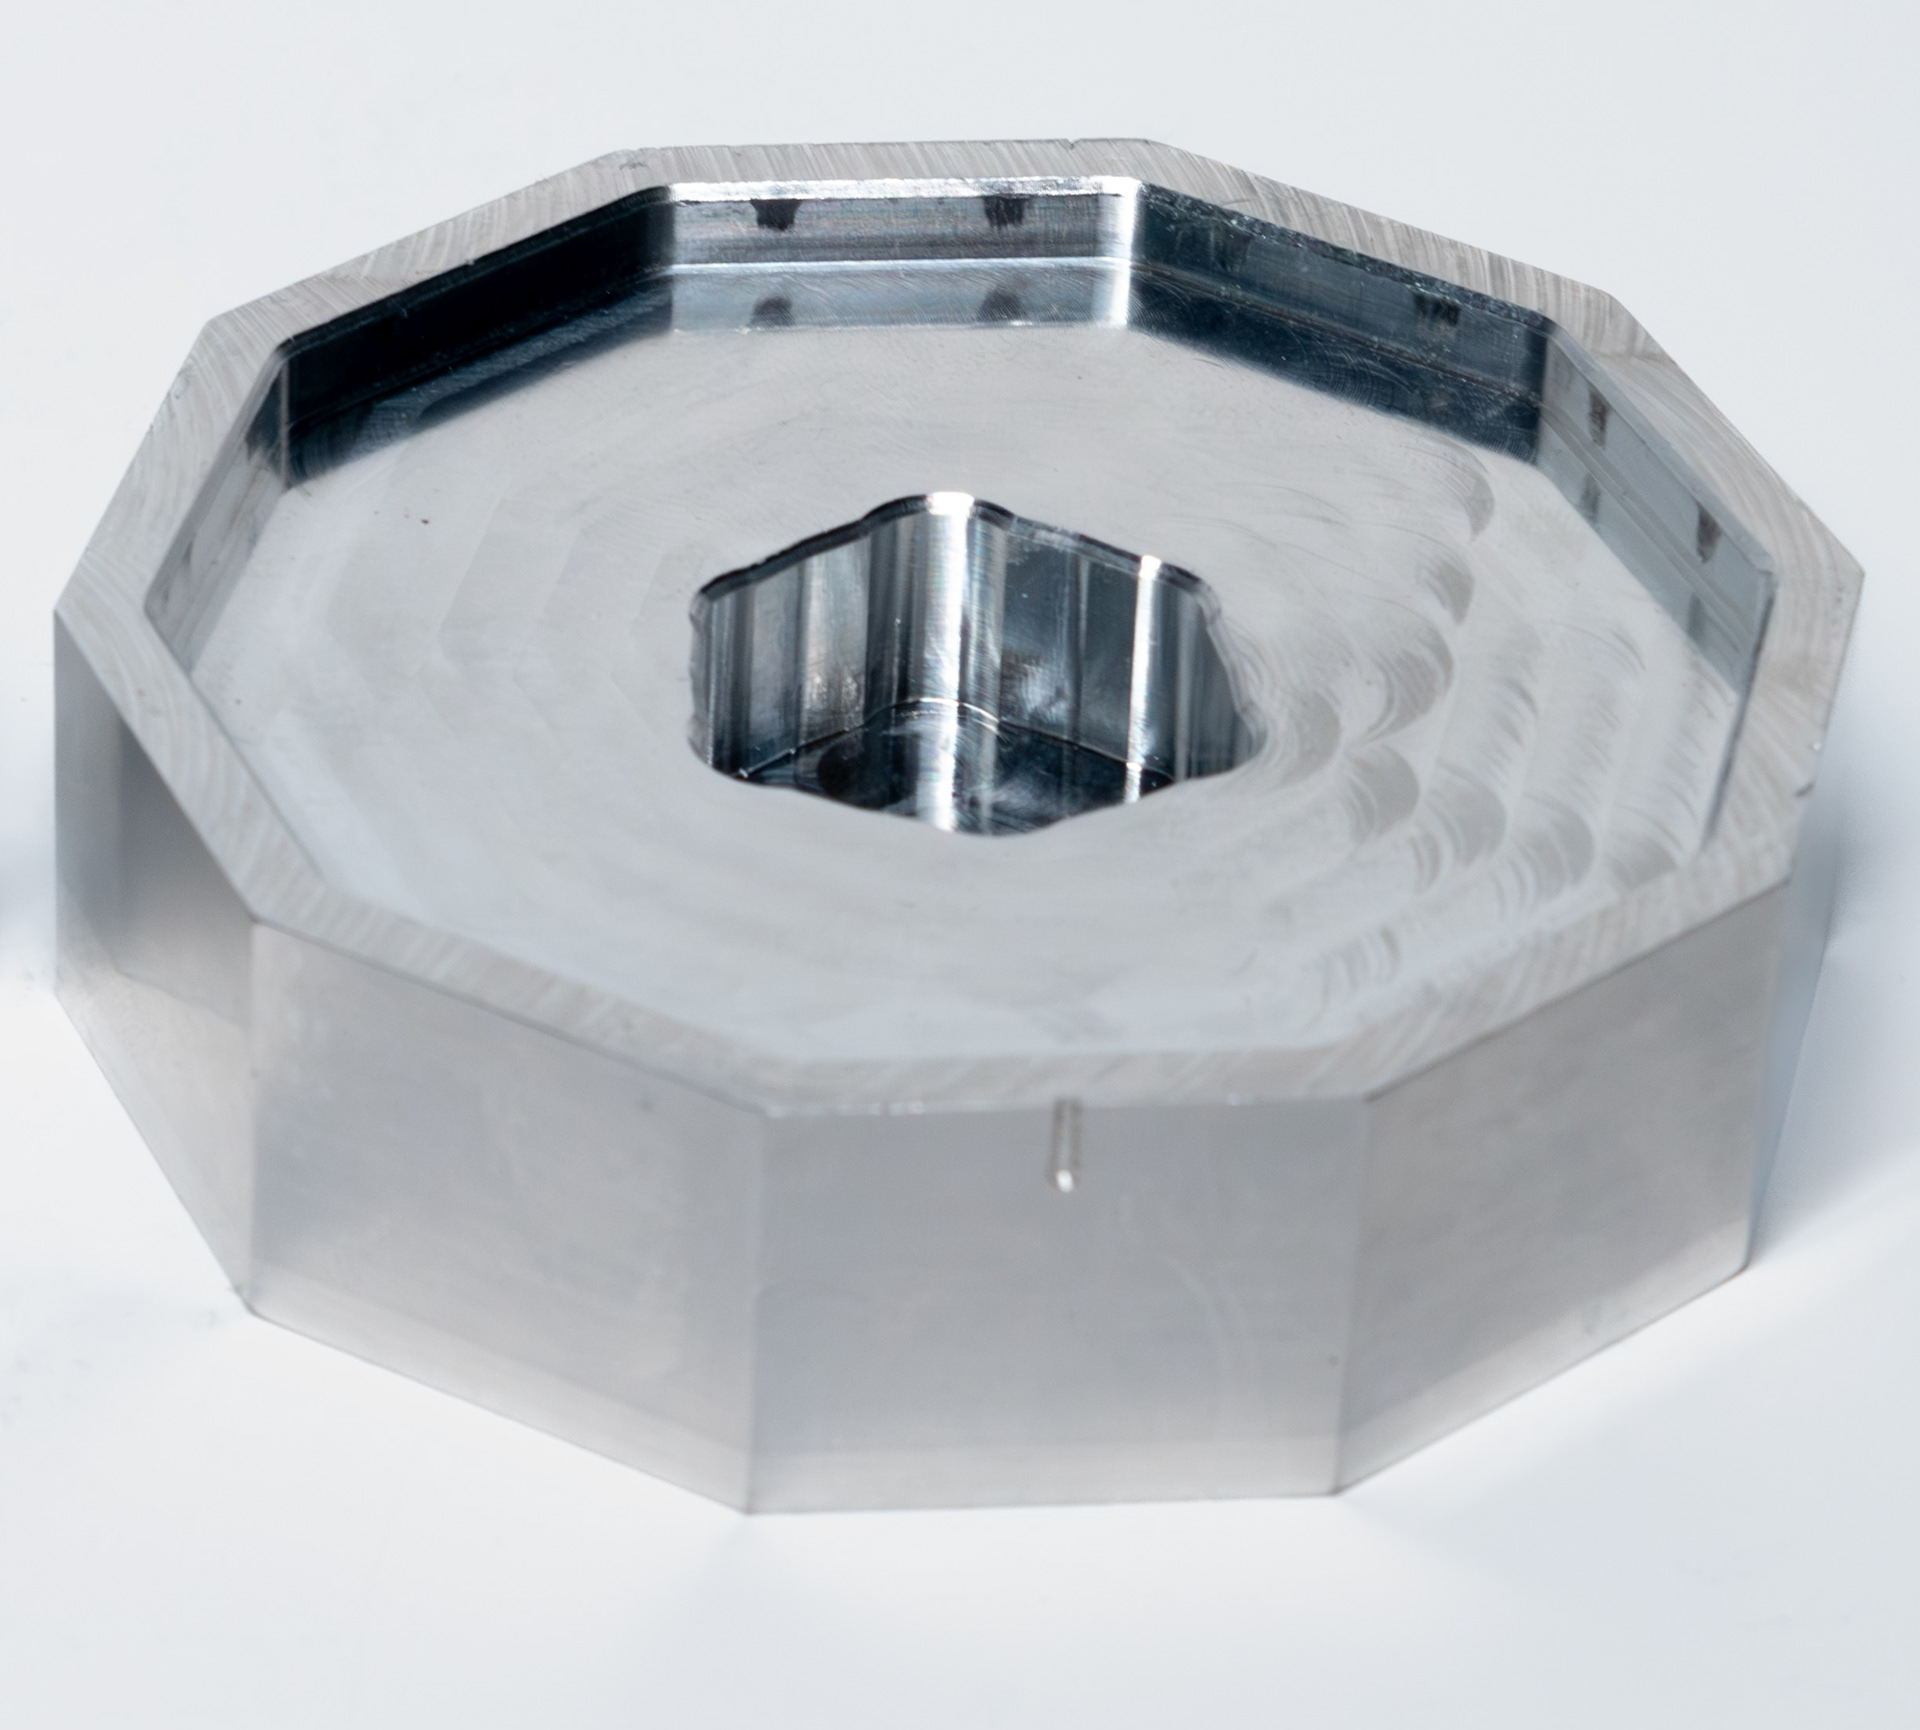
Box bottom

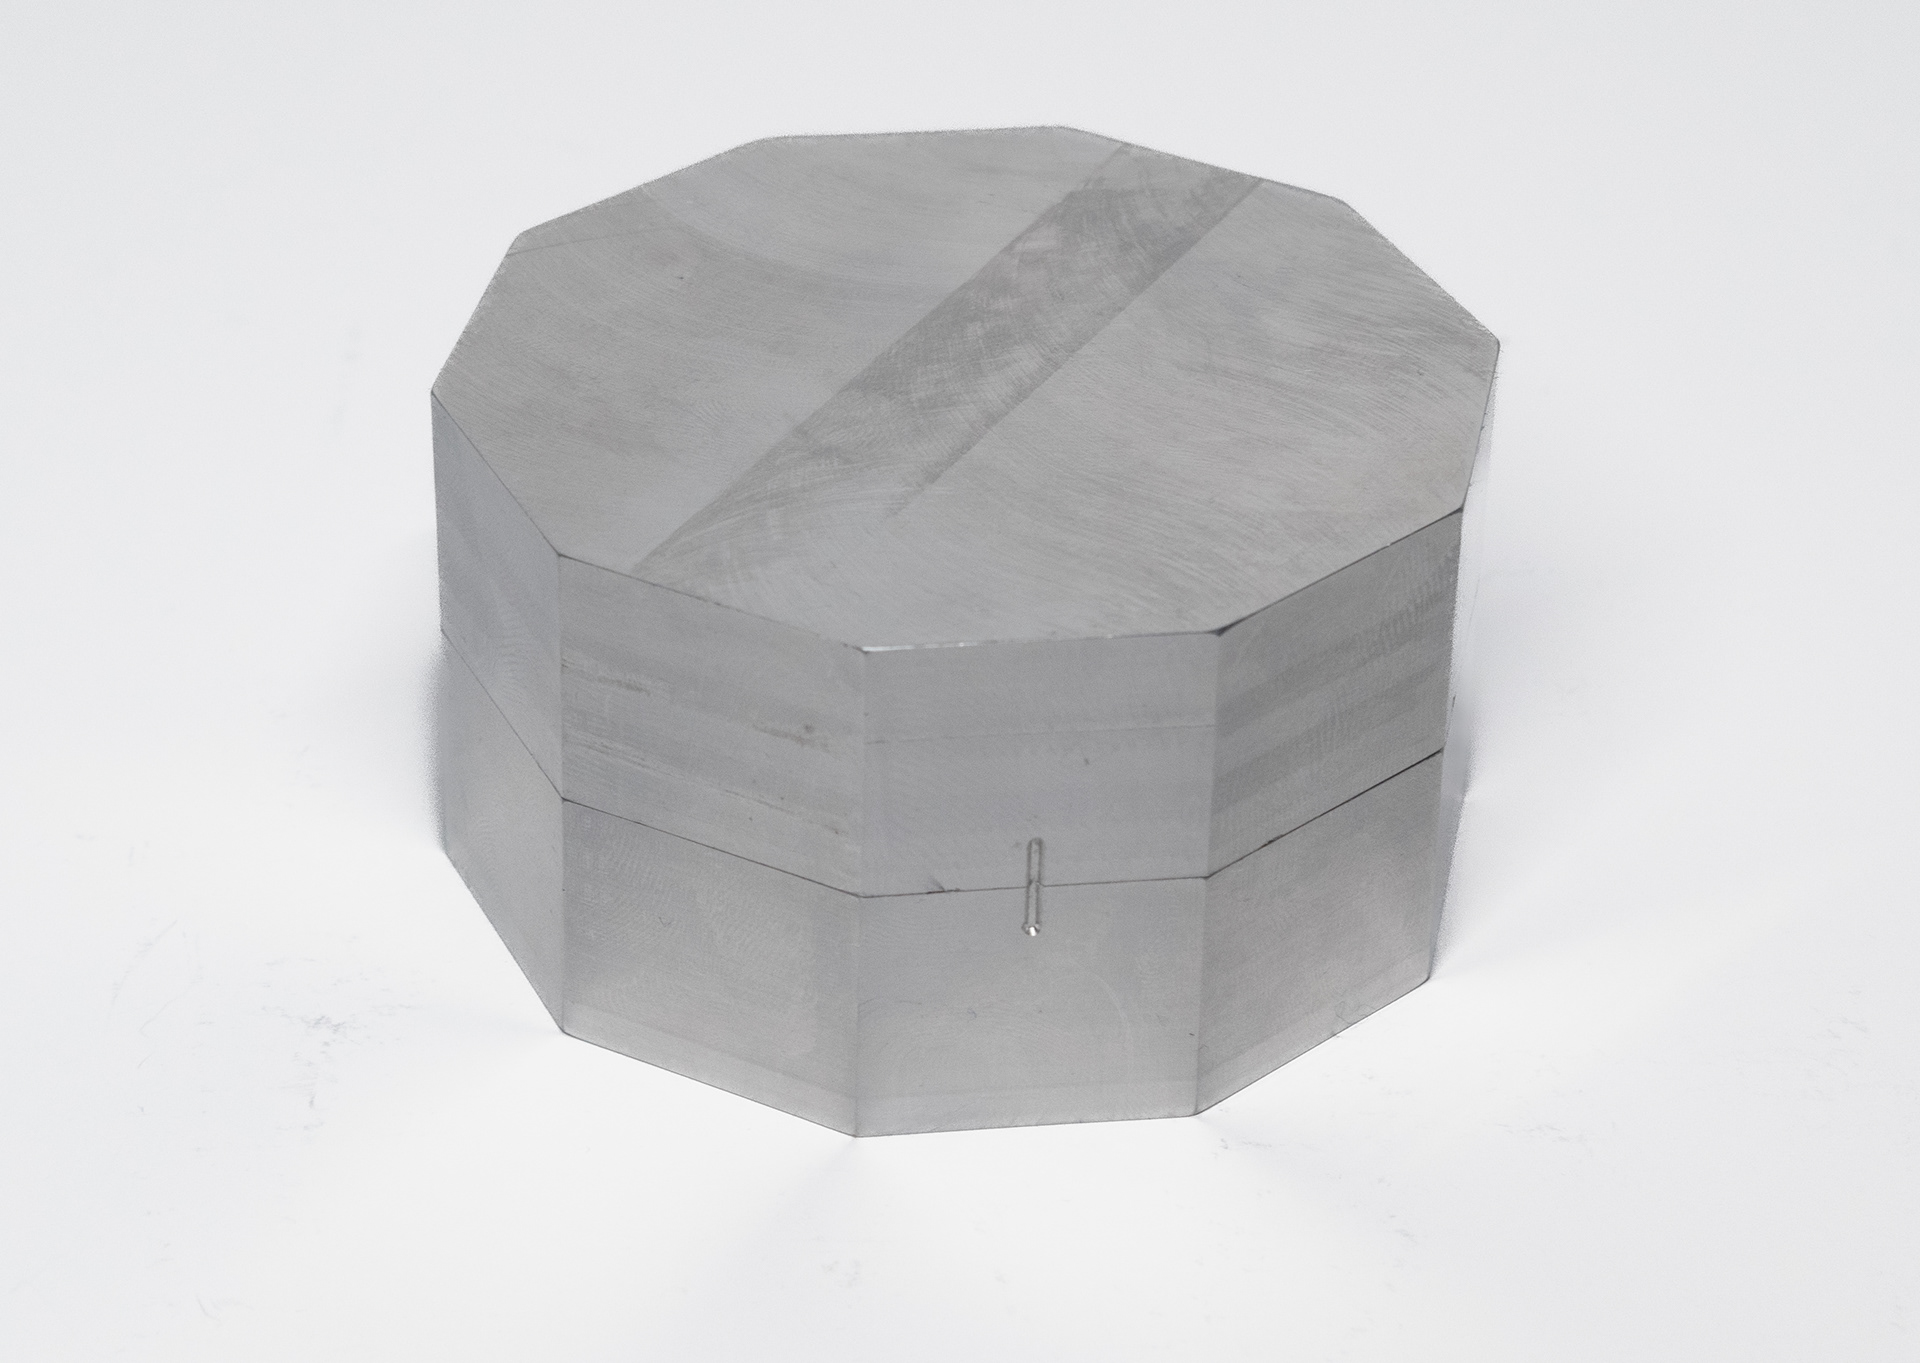
Box top
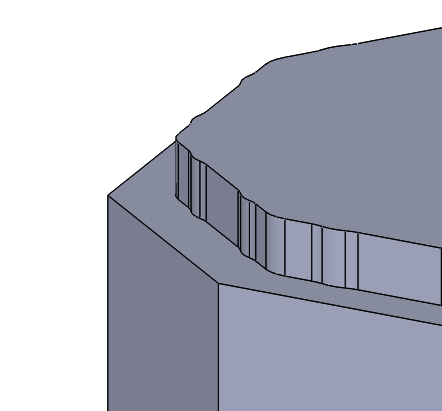
Fit nubs on box top
Additional Details:
Estimated cost from vendor:
1 Box: $460 / Box
1000 Box: $76 / Box
Estimated total cycle time: 2.5hrs
Other cost evaluations and BOM can be found in technical drawings below.