For a Design for Manufacturing class in fall 2024 I was tasked to design and manufacture a polyurethane cast plant potter with a vacuum thermoformed drip tray. The goal of the project was to learn about manufacturing processes used at the scale of making a few hundred parts. The only requirements be that it contain one cast part and one vacuum-formed part, that we stay within volume limits for molding and casting materials, and that the project be designed with design for manufacturing principles so parts could be reproduced easily and cheaply.
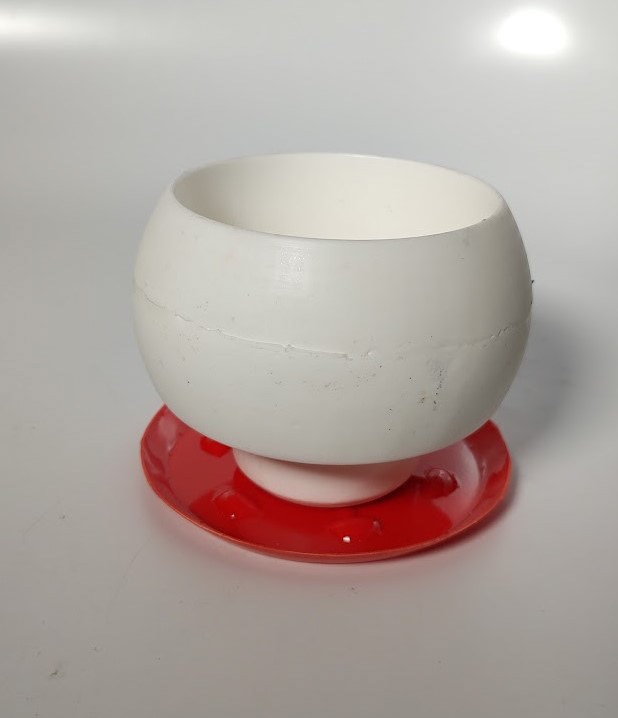
My partner and I decided to theme our plant potter off of a mushroom. Our goal was it to be be mushroom shaped with a red cap, white stem, opening at the top for the plant to be potted and drainage holes at the bottom. The drip tray would match the red top, have raised edges to catch water, and small embossed mushrooms to locate the potter in the center of the tray. Through the process of the project we learned a lot about casting processes and were able to produce wonderfully "mushroomy" final products to meet our goals.
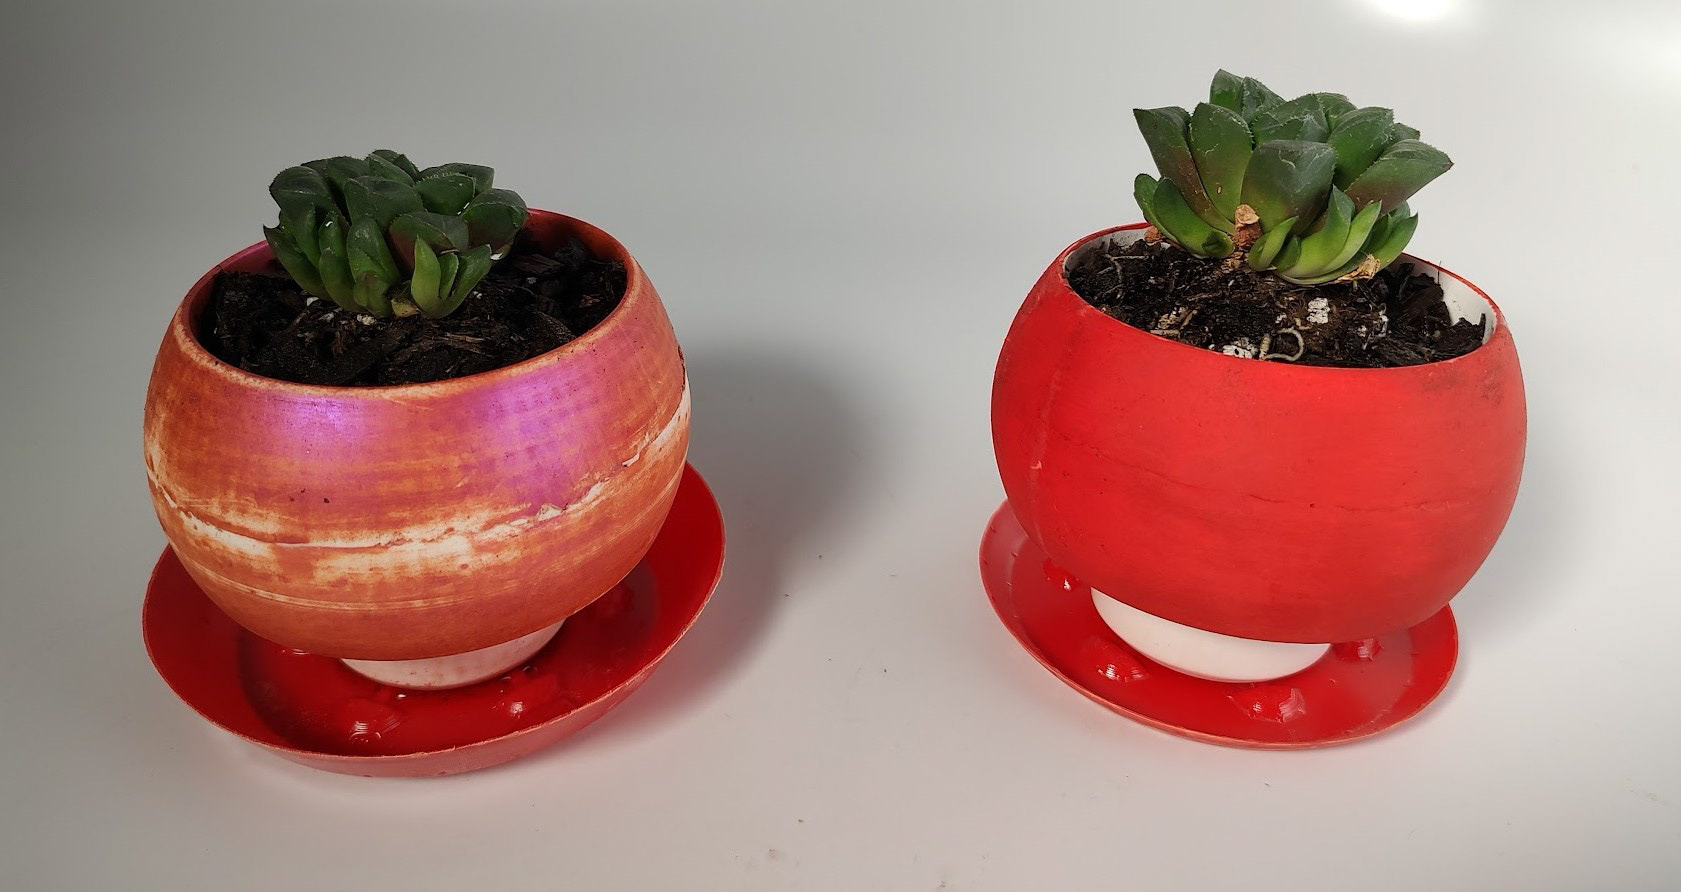
2 of the final plant potters produced resting on their vacuum-formed drip trays. The left one is coated with mica powder to produce the red mushroom top and the right one is painted.
Some skills I learned or utilized in this process:
- Solidworks CAD
- Casting mold design and manufacturing
- Thermoforming mold design and manufacturing
- Designing for mass production
- Designing for demolding and repeatability
- Optimizing casting flow and volume
- Solidworks CAD
- Casting mold design and manufacturing
- Thermoforming mold design and manufacturing
- Designing for mass production
- Designing for demolding and repeatability
- Optimizing casting flow and volume
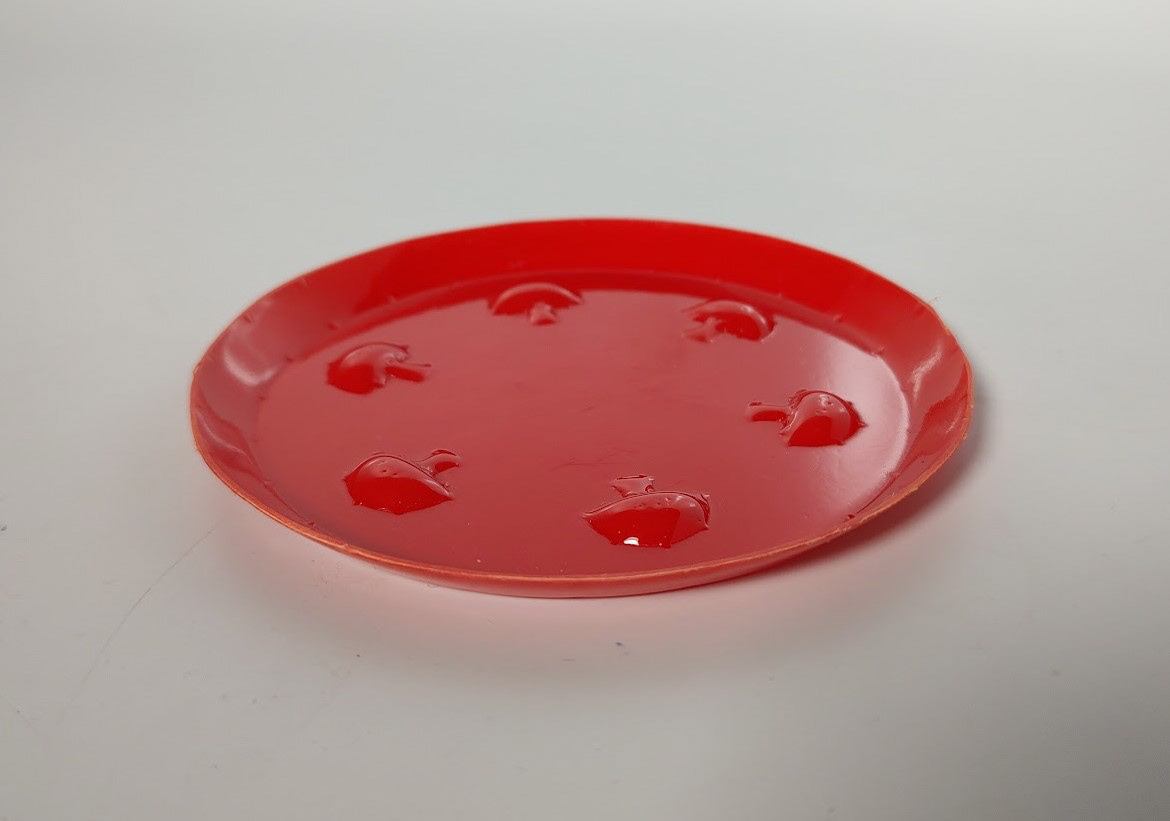
Vacuum-formed drip tray with embossed mushrooms.
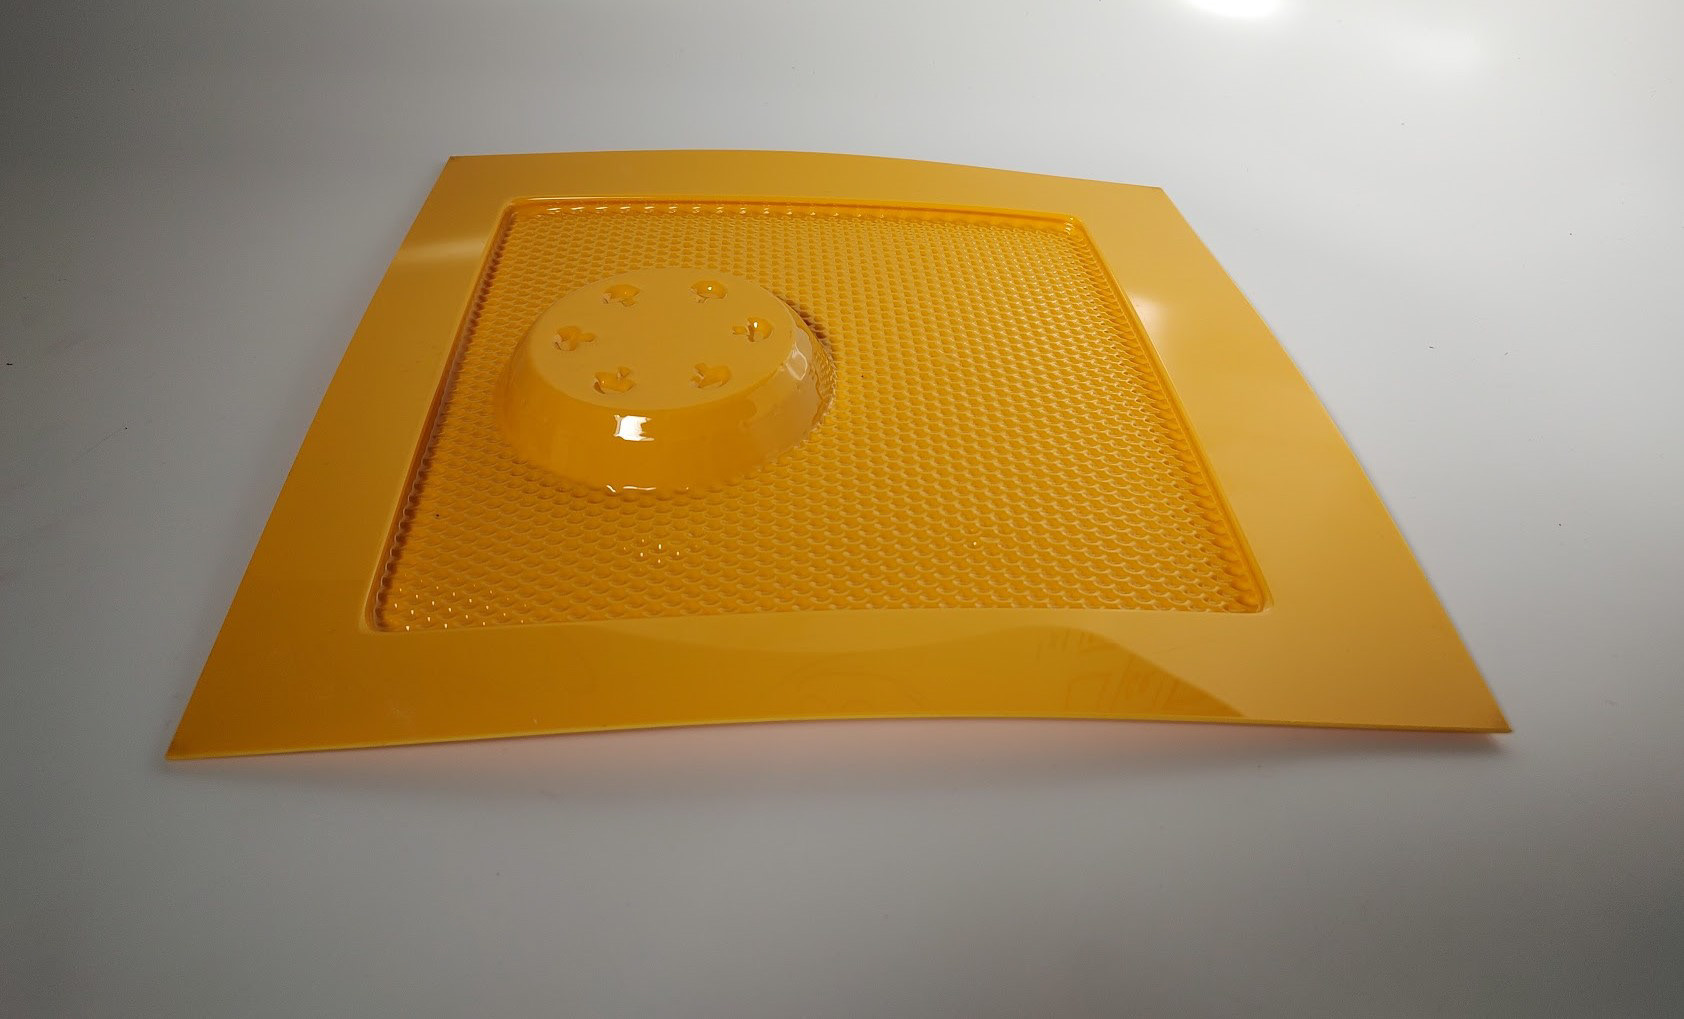
Vacuum Forming Mold design:
Designing for vacuum forming came with a couple unique challenges. Vacuum formers heat up thermoplastic sheets and suck them onto a mold, reshaping them. This means that the mold needs to be heat resistant in order to not wear out quickly during the forming process. To prevent melting, we elected to 3D print our mold out of ABS. Vacuum forming also induces a large amount of pressure on the mold when it pulls the vacuum. To mitigate this issue we increased the wall thickness and shell thickness of the mold significantly. The mold also required a large number of small holes for the vacuum the be pulled through it, these were strategically placed on concave sections of the mold where we believed we would have the most issue getting the plastic sheet to conform. Any mold also requires draft angles to simplify demolding the final piece. For the drip tray all walls have at least a 45 degree draft angle. Finally, we sanded the mold extensively to prevent the layer lines of the 3D print from appearing on our final mold.

Vacuum forming mold.
Silicone Mold design
Our silicone mold for polyurethane casting came with some interesting challenges as well. We elected to make a two part mold to allow for two opposing draft directions (positive and negative) on our final part. This accommodated the somewhat spherical geometry of the mushroom cap leaving a split line at the center of this semi-sphere. The slight flex in the silicone would allow for some error in the height of this split line. To allow for the drainage holes at the bottom of our design, the bottom half of the mold contained, pin-like geometry that could press against the inner cavity to prevent polyurethane from filling the holes. We also decided to cast the mushroom upside down as it would allow for better flow of the urethane into the flat base of the stem. This meant adding an additional pour hole to the bottom of our mold.
To manufacture this mold we designed a 3D printed version of our final part that could be casted around and sanded the layer lines off of it. We also 3D printed a small jig that could be screwed into the bottom of the mushroom and glued to the base of the mold container to hold the main mushroom part and leave negative space for a pour sprue. The silicone was poured in 3 layers, one to the base of the mushroom filling the drainage holes, one up to the split line joining with the first to form the bottom of the mold, and a final to fill the mushroom and above the split line forming the top of the mold. In between the 2nd and 3rd pour, locating clay balls were added to the top of the mold to ensure meshing between the top and bottom halves.
To manufacture this mold we designed a 3D printed version of our final part that could be casted around and sanded the layer lines off of it. We also 3D printed a small jig that could be screwed into the bottom of the mushroom and glued to the base of the mold container to hold the main mushroom part and leave negative space for a pour sprue. The silicone was poured in 3 layers, one to the base of the mushroom filling the drainage holes, one up to the split line joining with the first to form the bottom of the mold, and a final to fill the mushroom and above the split line forming the top of the mold. In between the 2nd and 3rd pour, locating clay balls were added to the top of the mold to ensure meshing between the top and bottom halves.

Exploded section view of silicone mold CAD. Blue is the mold, white is the final part, and purple is the 3D printed pour hole jig.
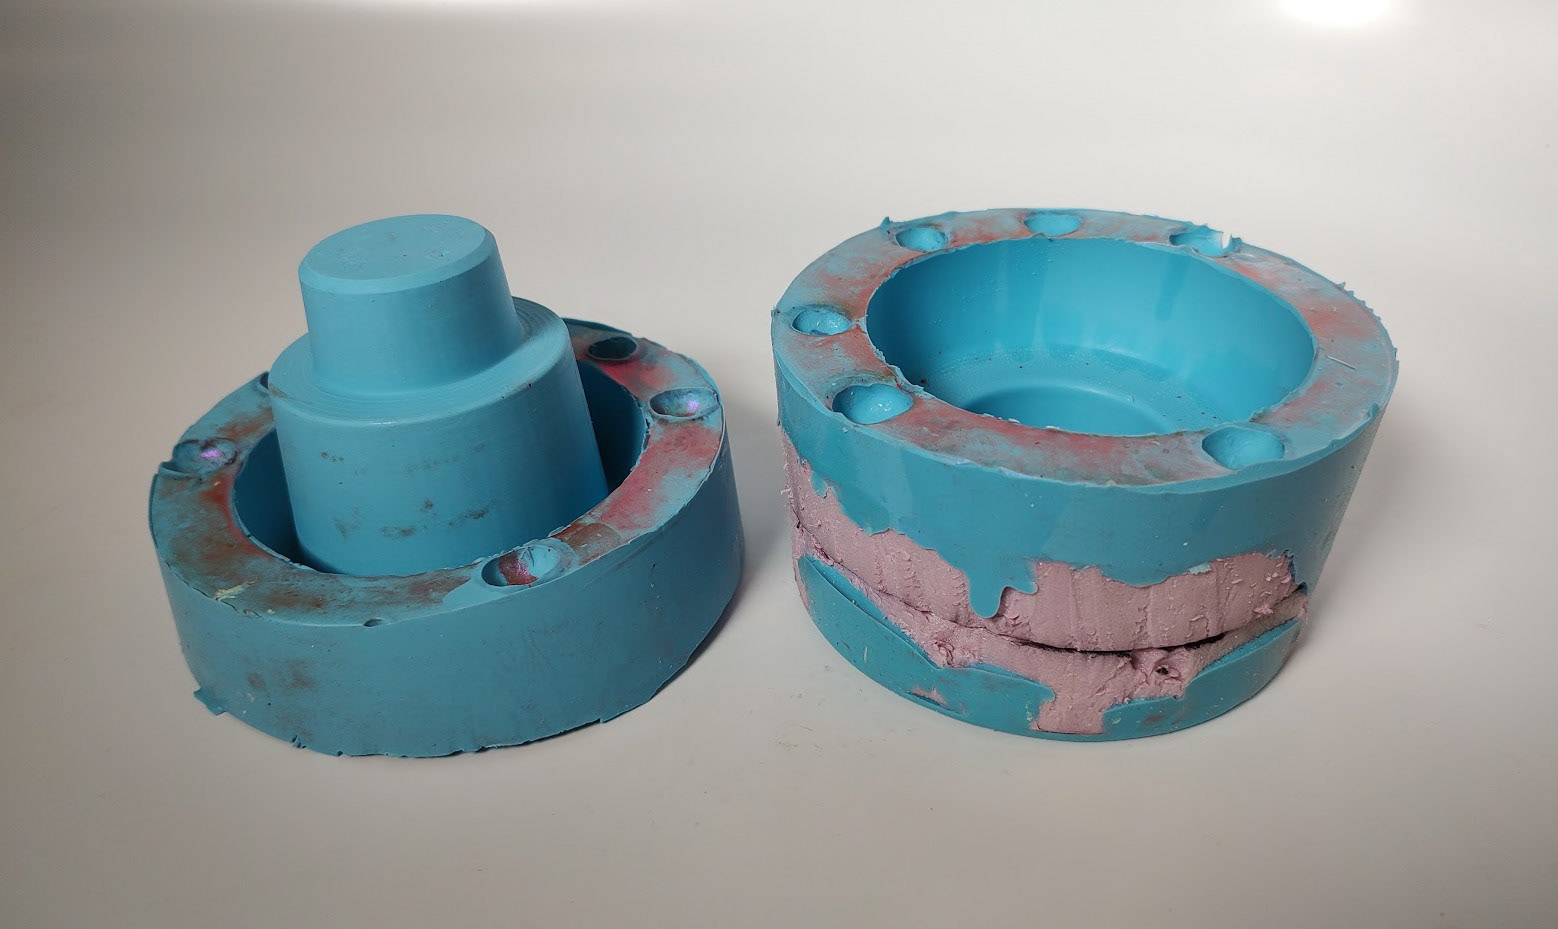
Both halves of the silicone mold
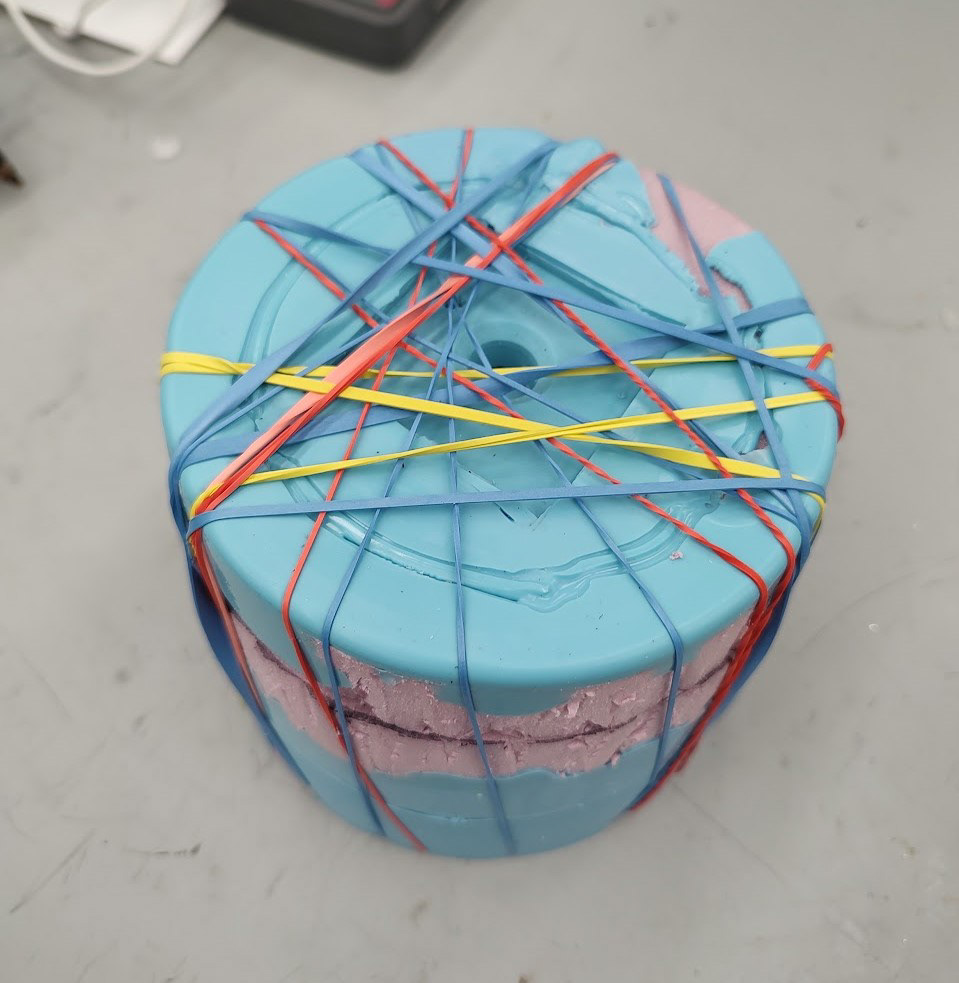
Silicone mold prepared for urethane pouring
Unpainted cast urethane part

Small pour sprues and venting holes seen in final part before trimming
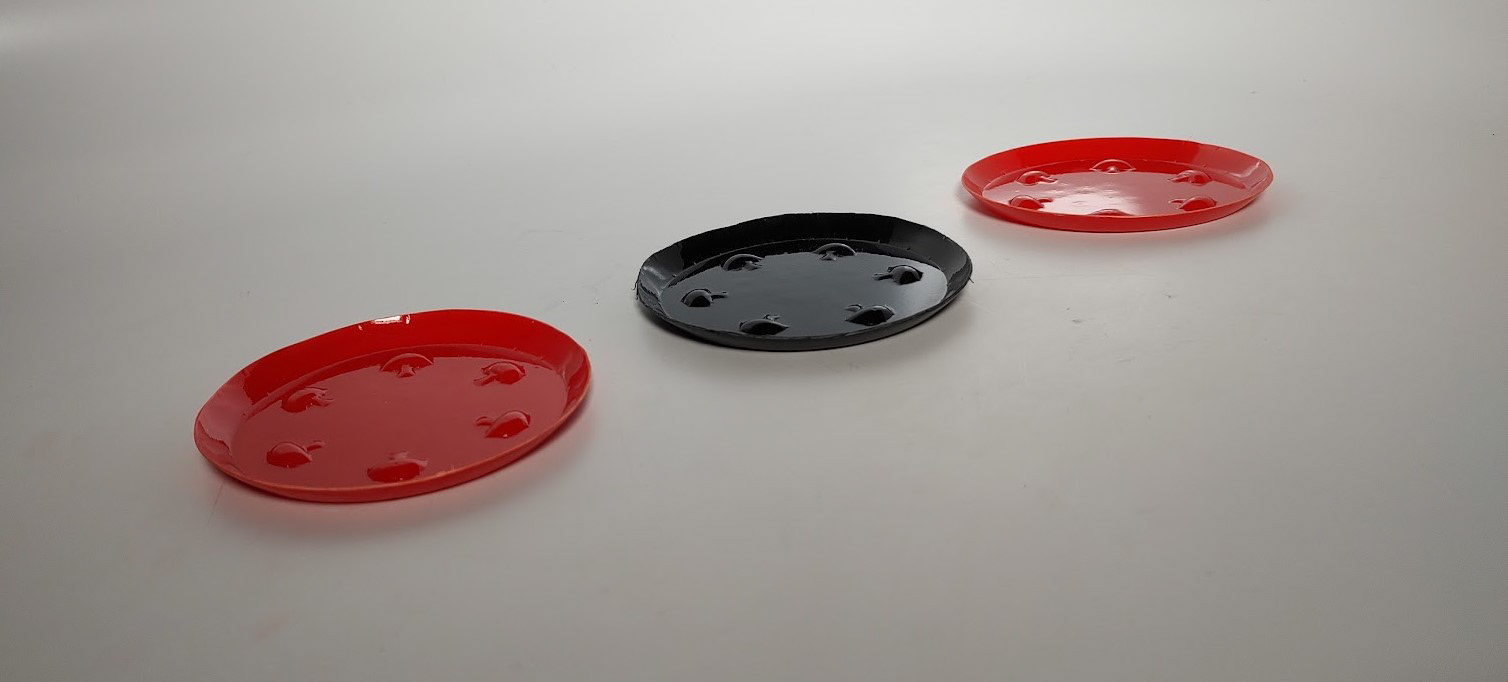
A selection of finished drip trays
Sheet of ABS the drip trays were formed from
Additional Details:
Estimated cost from vendor:
1 Planter: $2172.6
1000 Planter: $127.36 / Planter
One Time Costs: $63.35
Cost Per Part: $8.64
Costs for 100 Parts:
-Smooth Cast 305: $333.09
3 x 1 Gallon Units for 100 casts
-ABS Sheet: $531
9 packs of 12 for $59 each
Cost Per Part: $8.64
Costs for 100 Parts:
-Smooth Cast 305: $333.09
3 x 1 Gallon Units for 100 casts
-ABS Sheet: $531
9 packs of 12 for $59 each
One Time Costs:
-OOMOO 25: $33.09
-3D Prints: $30.26
ABS - $15 (72.17 g)
PLA - $15 (110.29 g + 8.27 g)
-1x 4-40 heat insert - $0.20
-1x ½” 4-40 bolt - $0. 06
-OOMOO 25: $33.09
-3D Prints: $30.26
ABS - $15 (72.17 g)
PLA - $15 (110.29 g + 8.27 g)
-1x 4-40 heat insert - $0.20
-1x ½” 4-40 bolt - $0. 06
Estimated mold making time: 16hrs
Estimated time per planter: 1hr
Estimated time per Tray: 5min
Estimated time per planter: 1hr
Estimated time per Tray: 5min